
Xperios academic year setup is essential for ensuring a smooth, organised rollover into your new academic year. By preparing your dates, progression settings, charges, and communication templates in advance, you ensure your organisation begins the year with clarity, accuracy, and confidence. This extended guide walks you through each step in detail, helping you streamline your processes and reduce administrative workload.
👉 Watch the video version here: Progression
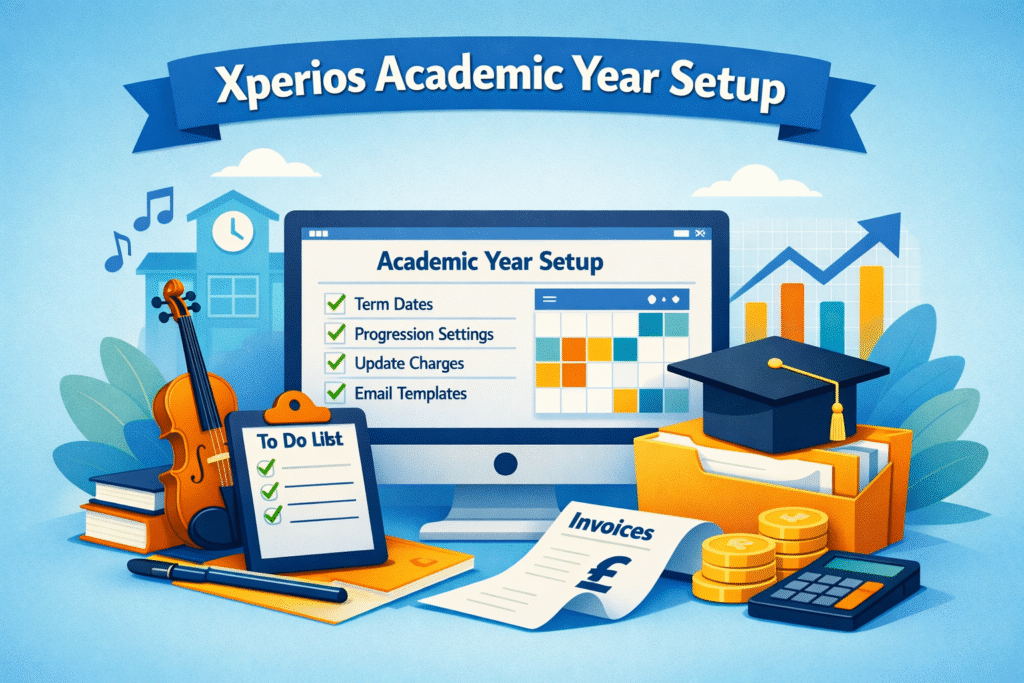
1. Xperios Academic Year Set Up: Adding Your New Dates
Your academic year dates form the foundation of everything that follows — schedules, invoicing, progression, and reporting. Setting these up correctly ensures consistency across your organisation.
How to add your new academic year:
- Navigate to Settings → Academic Year
- Click the plus icon to create a new year
- Choose whether your organisation uses termly or annual schedules
- Add term names, start dates, end dates, and any half‑terms
- Set the default number of sessions per term
- Add invoicing dates to ensure billing aligns with your schedule
- Click Save
At this stage, keep Open Schedule, and Open Pupil Progression switched off. These should only be activated once all configuration steps are complete.
2. Xperios Academic Year Setup: Configuring Progression Settings
Progression settings determine how schedules and pupils move into the new academic year. These rules ensure continuity for returning pupils and clarity for parents.
Find these settings under Service Types → Detail → Progression Area.
Progression Options Explained
- Progress Schedules Automatically progresses lessons using this service type into the new academic year.
- Progress Plans Status Deptermines if the plans you progress get set to a status of confirmed or pending.
- Progress Activities Pupils are provisionally progressed and parents confirm continuation through the Portal.
- Progress Activities Automatically Pupils progress immediately without needing parental confirmation.
- Progress Activities Discounts Reapply Parents must resubmit remission evidence before progression is finalised.
- Progress Activities Reminder Period Sets how many days before a reminder email is sent.
- Progress Activities Time Limit Defines how long pupils have to complete continuation once the term begins.
These settings allow you to tailor progression to your organisation’s workflow, ensuring parents receive clear instructions and staff have accurate data.
3. Xperios Academic Year Setup: Updating Charges
If your organisation is updating prices for the new academic year, this must be completed before raising any new invoices.
To update charges:
- Go to Settings → Charges
- Select the relevant charge
- Click Edit
- Choose the new academic year
- Update the value
- Click Save
You can also create new charges using the plus icon, ensuring your pricing structure remains accurate and transparent.
4. Xperios Academic Year Setup: Updating Email Templates
Clear communication is essential during progression. Xperios provides automated emails that you can customise to reflect your organisation’s tone and instructions.
Find templates under Service Types → Email Templates.
Key Templates
- Continuing Tuition Progression
- Continuing Tuition Change
- Confirmation of Re‑application
Add deadlines, instructions, or service‑specific wording to ensure parents understand what actions they need to take.
5. Xperios Academic Year Setup: Progressing Schedules and Pupils
Once your configuration is complete, you can begin progression.
Open Schedule
Progresses all confirmed lessons into the new academic year.
Open Pupil Progression
Moves pupils without a finish date into the next year.
If Progress Pupils Automatically is OFF:
- Parents receive an email
- A new action appears in their Portal
- Recurring card‑payment users confirm or update card details
If Discounts Reapply is ON:
- Parents resubmit remission evidence
- Approved pupils appear in the Remission/Subsidy report
- Pupils are placed on the waiting list for allocation
Pupils in Maximum School Year
These pupils receive a different email:
- No “Continue” option
- They must select Change and enter their new school
Automatic Progression
Pupils will progress into the new academic year unless:
- Their lesson does not exist next year
- They are in the maximum school year
For pupils in the maximum school year:
- If their next school is unknown, they receive the same email as pupils who are not automatically progressed
- If their new school is known, they are progressed onto that school’s waiting list
6. Xperios Academic Year Setup: Monitoring Progression
Use dashboard queries to track progression and ensure nothing is missed:
- Tuition progression confirmed
- Tuition progression unconfirmed
- Tuition progression waiting list
These help your team stay organised and respond quickly to outstanding actions.
Final Checklist
Before launching your new academic year, ensure you have:
- Added academic year dates
- Configured progression settings
- Updated charges
- Reviewed email templates
- Progressed schedules and pupils
- Checked dashboard queries
With these steps complete, your Xperios academic year setup is ready for a smooth, efficient start.
Want to Get Started With Xperios?
If your organisation is ready to streamline scheduling, billing, progression, and pupil management, our team would love to help you get started.
👉 Contact us here: https://paritor.com/contact-us